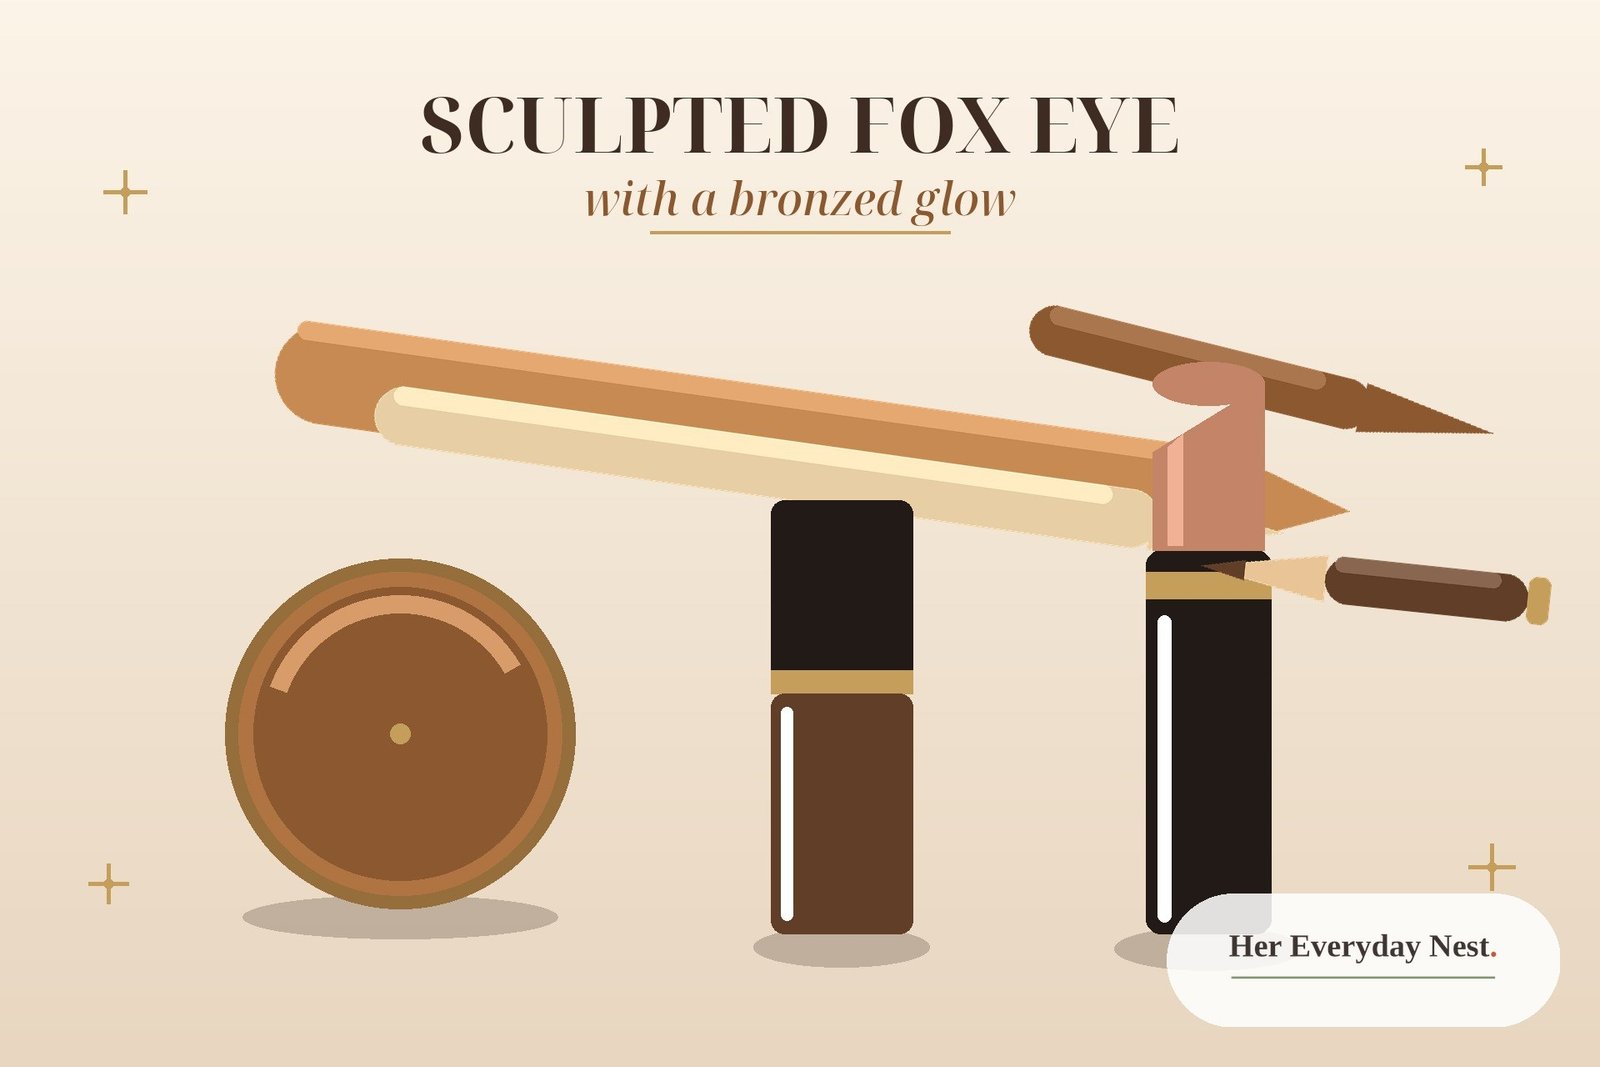
Sculpted Fox Eye Makeup With a Bronzed Glow
Sculpted fox eye makeup with a bronzed glow is the look I reach for when I want my eyes to do the talking and my skin to look like I just came back from somewhere warm. The eyes are lifted and elongated, the bronze shadow is smoked upward toward the temples, and the whole face glows in the same warm tones — nothing about it is harsh, and nothing about it is flat. It is sultry without being heavy, and it photographs beautifully.
The secret is the bronzer. Most fox eye tutorials start with liner, which is why so many of them end up looking drawn-on. This version starts with bronzer instead: bronzer maps the shape, sculpts the eye area, and then ties the eyes to the cheeks, the forehead and the lips. The liner only sharpens what the bronzer already built. Once you understand that order — sculpt first, line second — the look clicks, and it takes about twenty-five minutes.
In this guide I will walk you through the exact eight-step method, the bronzed glow finish that completes it, how to choose bronze shades for your skin tone, how to adapt it to your eye shape, and the six mistakes that make a fox eye look tired instead of lifted (and how to fix each one in seconds).
What Is Sculpted Fox Eye Makeup?
Sculpted fox eye makeup is a technique that makes the eyes look elongated, lifted and slightly upturned at the outer corners, built on warm bronze tones instead of flat black. Every element — shadow, liner, lashes and brows — is pulled up and outward toward the temples, so the eye reads longer and narrower, like the almond shape of a fox’s eye. The “sculpted” part is what sets this version apart: bronzer is used as a contouring tool on the eyes themselves, carving the shape before any liner goes near it.
It is not the same as a cat eye, and the difference matters. A cat eye flicks the wing outward, roughly parallel to your lower lash line, and the look is all about the flick. A fox eye angles the wing steeply upward, toward the tail of the brow, and it stretches the inner corner as well, so the whole eye looks slanted from both ends. A cat eye lifts the corner; a fox eye reshapes the eye.
The bronzed glow is the second half of the look. Instead of stopping at the eyes, the same warm bronze tones run through the whole face: bronzer on the cheekbones and forehead, a warm blush, a touch of sheen on the high points, and a glossy nude or caramel lip. The eyes and the skin speak the same language, which is why the finished look feels expensive rather than costume-like. It works for evenings, weddings, date nights and photos — and the soft version works for daytime too.
What You Will Need for Sculpted Fox Eye Makeup
You do not need a huge kit. The look is built from placement, not products, and everything below is probably already in your makeup bag.
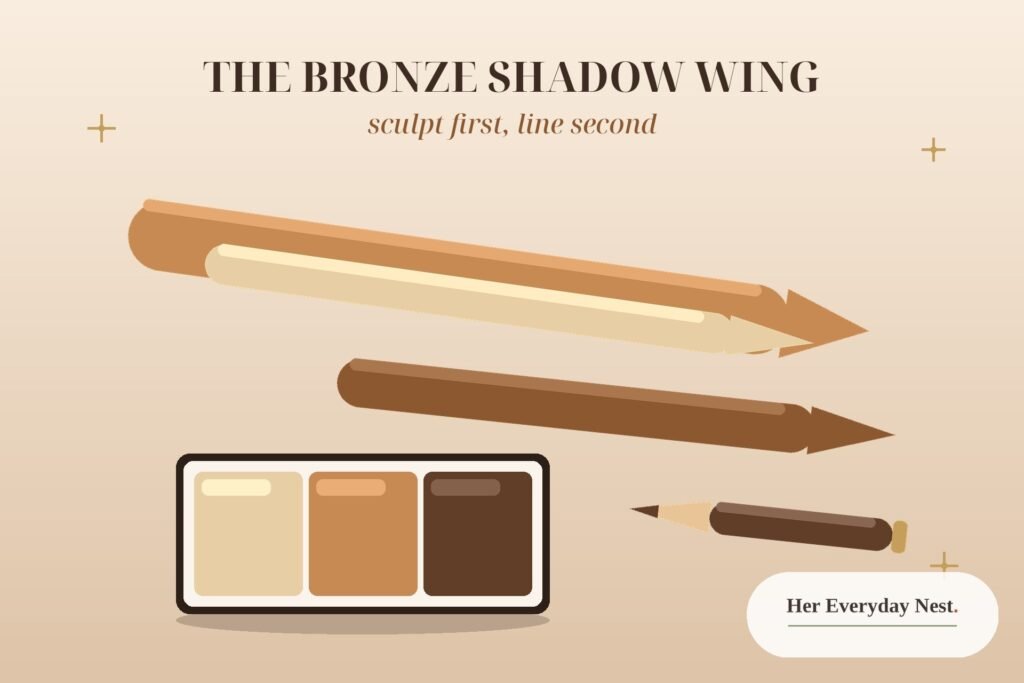
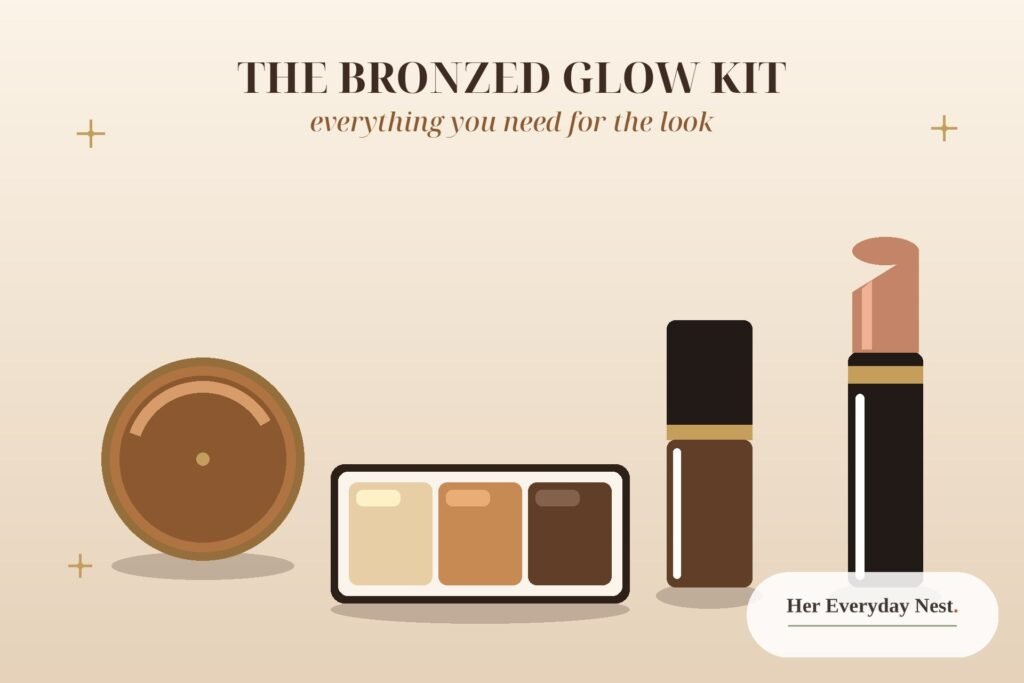
A matte bronzer one or two shades deeper than your skin tone is the hero product — it sculpts the eyes and warms the face, so choose one with no orange cast and no chunky glitter. You will also want a warm brown eyeshadow palette with three shades: a light beige for the base, a medium bronze for the wing, and a deep espresso for the outer corner. A gel or liquid eyeliner in brown or black, a small angled brush, a fluffy blending brush, a pencil brush for detail work, mascara, a brow pencil or powder, and a warm-toned lipstick or gloss complete the kit. A concealer one shade lighter than your foundation is useful for sharpening the wing at the end — it is your eraser, and it matters more than any single product in the list.
Sculpted Fox Eye Makeup: The 8-Step Method
Work with your eyes open and relaxed for most of this method, checking the shape in the mirror as you go. Fox eye makeup is about direction, and direction is something you can only judge with your eyes open. Build in thin layers and blend between every step — the blending is what makes it sculpted instead of stamped on.
Step 1: Prep and Prime (3 Minutes)
Start with a clean, moisturised face and let the moisturiser absorb fully — makeup slides on oily, half-absorbed skin. Press a thin layer of eye primer across the whole lid, from lash line to brow bone, and let it set for a minute. Primer keeps the bronze shadow bright for hours and stops it creasing into the fold, which matters more with this look than with a simple wash of colour because the shape sits above the crease. While it sets, do your base: a light-to-medium foundation, concealer only where you need it, and a whisper of powder just through the centre of the face. Leave the cheeks unpowdered — the bronzed glow needs bare skin to grip onto later.
Step 2: Map the Lift With Bronzer
This is the step the whole look is named for. Take a small fluffy brush, pick up your matte bronzer, and tap off the excess. Look straight into the mirror with your face relaxed and find the lift line: an imaginary line from the outer corner of your eye to the tail of your brow. That is the direction everything will follow.
With your eyes looking down, place a dab of bronzer at the point where that line crosses the outer edge of your eyelid, then blend it up and out toward the temple in a soft diagonal. You are drawing a template, not a line — a hazy wash of warmth that points upward. Blend the top edge until no edge shows. The bronzer should look like a soft shadow the sun left on your face, and it should be visible with your eyes open. If it disappears when you open your eyes, you placed it too low: move it higher and blend again. This bronzer map is what makes the sculpted fox eye makeup shape read as sculpted rather than drawn.
Step 3: Build the Bronze Shadow Wing
Take your medium bronze shadow on an angled brush and stamp a small wing shape over the outer end of the bronzer map, starting at the outer corner and flicking upward along the lift line. Keep it short at first — you can always extend it, but a wing that is too long too early is hard to pull back. Connect the little wing back into the outer third of your upper lash line with the same shade, then sweep the medium bronze through the crease, weighting the colour toward the outer corner rather than spreading it evenly. This uneven weighting is the first building block of the fox eye shape: the outer corner carries the depth, the inner lid stays light.
Step 4: Deepen the Outer V
Press your deep espresso shade into the outer corner with a small dense brush, right where the wing meets the lash line, and blend it up and slightly out toward the brow tail — never straight up. This is the “V” of the look: a soft triangle of depth that anchors the lift. Blend the edge where the deep shade meets the medium bronze with a clean fluffy brush until you cannot tell where one ends and the other begins. Add a little of the same deep shade under the lower lashes on the outer half only; the lower lash line is what makes the eye feel truly elongated rather than just winged. Tap a champagne or warm gold shimmer onto the centre of the lid with your fingertip — fingers press shimmer on better than a brush — and keep it away from the outer corner so the smoke stays smoky.
Step 5: Draw the Lifted Wing
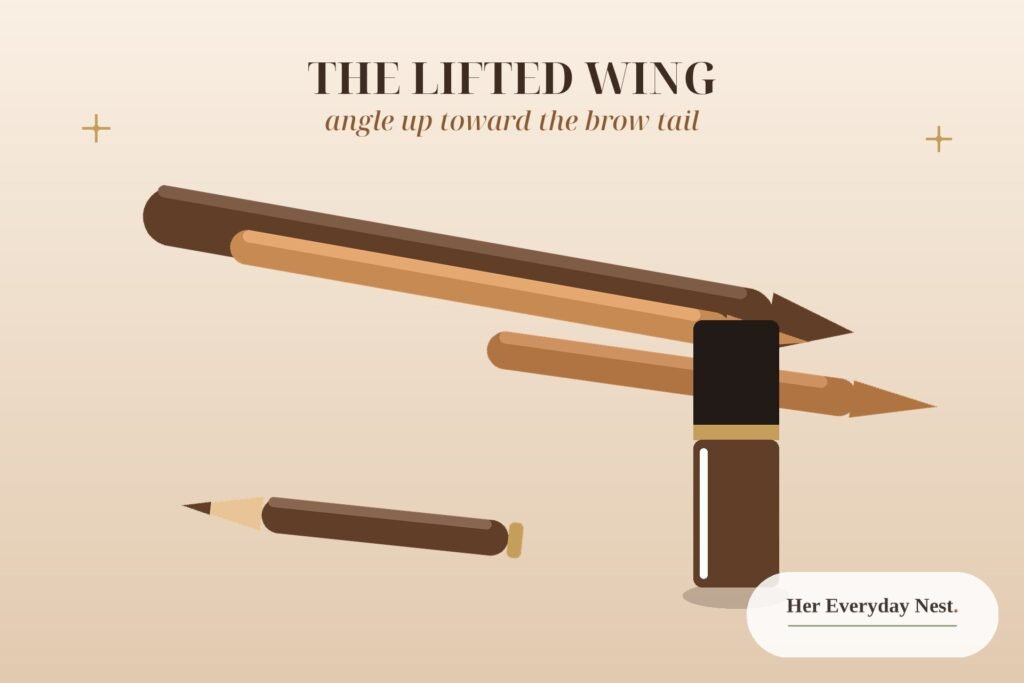
Now the liner, and only now. The shadow wing underneath is your guide, so the liner has something to follow. Using gel liner for control (or liquid liner if you are confident), start at the outer corner and work inward — not the other way around. Draw a thin line along the upper lash line, then extend it past the outer corner, angling it steeply upward toward the tail of your brow. This angle is the defining move of the entire look: a classic cat eye flicks outward, but a fox eye wing climbs. Keep the line thin as it extends and taper the tip to a fine point. If the wing wobbles, do not redraw the whole line — wait for it to dry, then sharpen the lower edge with a small brush dipped in concealer. That concealer clean-up is the difference between a wing that looks drawn and a wing that looks sculpted.
Step 6: Define the Inner Corner and Lower Lash Line
The inner corner is a small detail with a big payoff — it is what makes the look feel foxy instead of just winged. With a fine brush, draw a tiny point of liner or deep shadow at the inner corner, extending it just one or two millimetres toward the nose. Keep it soft and subtle; a thick inner line looks harsh. Add a dot of light shimmer right at the tear duct to open the eye up. On the lower lash line, connect the deep bronze shade only to the outer third, smudged softly with a pencil brush, and leave the inner two-thirds bare. Colour on the full lower lash line closes the eye down; colour only on the outer third stretches it.
Step 7: Lashes and Brows
Curl the lashes and apply two thin coats of mascara rather than one thick one, angling the wand outward so the lashes fan toward the temples. Concentrate the mascara on the outer lashes — that outward weight is the final lift. Half lashes or a few individual clusters on the outer corner add drama for evenings, but they are optional; the shape comes from shadow and liner, not from lashes. For the brows, brush them up and fill them in soft, feathery strokes, keeping the tail slightly straighter and more angled than usual. A lifted brow tail extends the fox eye line, while a rounded brow fights it. If your brows naturally droop at the tail, a little concealer underneath the tail, blended upward, lifts the whole eye area instantly.
Step 8: Set and Check Symmetry
Step back from the mirror and look at both eyes with your face relaxed. Fox eyes live or die on symmetry, and the fix is almost always on one side only: usually one wing is longer or one inner corner is darker. Correct the stronger side down rather than building the weaker side up — a little concealer on a small brush erases a millimetre of wing in seconds. Mist a long-wear setting spray over the face and let it dry without touching it. The whole method takes about twenty-five minutes once you have done it twice; the first time, give yourself forty and a mirror with good light.
The Bronzed Glow Finish
The eyes are done, but the look is not — the bronzed glow finish is what makes sculpted fox eye makeup feel like a complete look instead of an eye tutorial. Use the same matte bronzer from step two and sweep it along the cheekbones, up toward the temples, following the same upward direction as the eye wing. A light pass across the forehead, down the sides of the nose and along the jawline ties everything together; the rule is that bronzer goes where the sun would hit, always blended until no edge shows.
Add a warm blush — terracotta, warm rose or soft coral — on the apples of the cheeks, blended upward toward the temples so it lifts rather than rounds the face. A touch of fine (never chunky) highlighter on the tops of the cheekbones, the bridge of the nose and the brow bone catches the light the way the shimmer on the lids does. Finish with a glossy nude, caramel or warm rose lip: line the lips with a pencil one or two shades deeper than your skin tone, fill with lipstick, and add gloss heaviest in the centre of the bottom lip. The lips stay soft on purpose — the eyes carry the drama, and a bold matte lip would fight them.
For a festive evening, this bronzed finish pairs beautifully with the looks in my Christmas makeup inspiration guide — the same warm tones, just with a red lip or a touch of gold swapped in. And if you want to see the same blending rhythm applied to a softer, smokier eye, my soft glam smoke makeup guide walks through it step by step. The Snow Silk look, with its white winged liner and red lip, shows the opposite end of the same lifted-eye idea — proof that the shape, not the colour, is what makes a fox eye.
Choosing Bronze Shades for Your Skin Tone
Sculpted fox eye makeup works on every skin tone because the method never changes — only the shade depth does. On fair skin, choose a light warm bronze and build slowly; dark shades go on fast and are hard to blend back, so start with half the product you think you need. Soft copper and champagne shimmer flatter fair skin most, and brown liner looks softer than black. On medium skin, warm caramel, true bronze and copper tones glow beautifully, and you can push the depth further — this is the skin tone the bronzed glow was made for. On deep skin, the look needs real pigment to show up: rich espresso, deep copper and bronze read beautifully, while grey-toned browns can look ashy. Choose warm browns, blend the edges longer since fallout shows more on deeper skin, and use a gold shimmer rather than a silver one on the lid. Whatever your skin tone, avoid bronzer with an orange cast — it reads orange in photos, while a neutral-warm bronze reads sun-kissed.
Adapting the Look to Your Eye Shape
Every eye shape can wear a fox eye; the technique just bends a little for each one. Hooded eyes benefit most: build the shape with your eyes open and relaxed, place the shadow wing above the fold where it stays visible, and keep the liner thin on the lid — shadow does the shaping, liner only sharpens it. Almond eyes already lean in the fox direction, so the classic method works as written; just keep the wing balanced on both sides, since asymmetry shows fastest on almond eyes. Monolid eyes should weight the colour toward the outer corner and rely more on the liner wing, since crease definition reads differently without a visible lid fold — the bronzer map step matters most here. Downturned eyes are the most flattering canvas of all, because the upward wing directly counters the natural downward angle; extend the wing a touch further and the lift is dramatic. Round eyes need the inner-corner point most, because it stretches the eye horizontally and stops it looking rounder. And if your eyes are deep-set, keep the deepest shade close to the lash line and use more shimmer on the centre of the lid, so the eye comes forward instead of receding.
Soft Fox vs Sharp Fox: Two Ways to Wear It
The same eight steps make two different looks, and choosing between them is mostly about occasion. The soft fox is the daytime version: matte neutrals only, a short shadow wing instead of liner, brown pencil smudged into the lash line rather than a liquid wing, and a tinted balm instead of full gloss. It reads as a lifted, polished eye — the kind of look people notice without knowing why. The sharp fox is the evening version: liquid liner, a longer wing, a touch of black layered over the espresso at the outer corner, half lashes, and a full gloss lip. It reads sultry and editorial. Start with the soft version until the placement feels automatic, then sharpen one element at a time — longer wing first, then darker outer corner, then lashes. Most people get comfortable doing the soft fox in fifteen minutes and the sharp fox in twenty-five, and the day-to-night switch is as simple as sharpening the wing and swapping the lip.
6 Mistakes That Ruin a Fox Eye (and How to Fix Them)
- Starting with liner instead of shadow. Liner first means no guide and no room for error. Fix: always build the bronzer map and the shadow wing first, and let the liner follow them.
- Pointing the wing straight out instead of up. A wing that follows the lower lash line is a cat eye, and it drags the eye sideways instead of lifting it. Fix: aim every outer-corner stroke at the tail of your brow, not at your ear.
- Colour on the whole lower lash line. It closes the eye down and cancels the lift. Fix: deep shade on the outer third only, blended softly, inner two-thirds bare.
- Skipping the blend between layers. If the look looks harsh, it is almost never the colours — it is a skipped blending step. Fix: a clean fluffy brush over every edge, every time.
- Heavy, rounded brows. A rounded brow tail fights the upward line of the whole look. Fix: brush brows up, keep the tail straighter and slightly angled, and clean up underneath with concealer.
- A matte lip with a bronzed eye. Matte lips fight the glow and make the finish feel dated. Fix: if you love matte lipstick, add gloss just to the centre of the lips — the shine is what sells the bronze.
What is sculpted fox eye makeup?
Sculpted fox eye makeup is a lifted, elongated eye look built with warm bronze tones: bronzer maps the shape, bronze shadow builds the wing, and liner angles sharply upward toward the brow tail. The “sculpted” part is the bronzer — it carves the eye shape before any liner goes on — and the bronzed glow finish ties the eyes to sun-kissed skin, blush and a glossy nude lip.
Does fox eye makeup work for hooded eyes?
Yes — it is one of the best looks for hooded eyes, because the shape is built above the fold where it stays visible when your eyes are open. Place the shadow wing and the liner with your eyes open and relaxed, keep the liner thin on the lid, and let shadow do most of the shaping instead of a heavy wing.
What eyeliner is best for fox eye makeup?
Gel liner is best for beginners because it is easy to control, smudges softly and can be cleaned up without starting over. Liquid liner gives the sharpest wing once you are confident with the angle. Brown liner looks softer and more wearable than black for the bronzed version; save black for the sharp, evening version.
Do I need false lashes for fox eye makeup?
No — mascara alone is enough, as long as you concentrate it on the outer lashes. Curl the lashes, apply two thin coats, and angle the wand outward. Half lashes or a few individual clusters on the outer corner add drama for evenings, but the lifted shape comes from shadow and liner placement, not from lashes.
How is fox eye makeup different from cat eye makeup?
A cat eye flicks the wing outward, roughly parallel to the lower lash line, for a rounded, lifted flick. A fox eye angles the wing steeply upward toward the tail of the brow and stretches the inner corner too, so the whole eye looks longer, narrower and more slanted — more sculpted, less flicked.

Emily Carter is the founder and editor of Her Everyday Nest. After nine years of renting in five apartments across three cities, she's learned how to make any rental feel like home.